Showing posts with label paint. Show all posts

Friday, March 1, 2013

Updating The Deck Deck Goose!

Eeeeehhhh- sorry about that one! I got a little cheesy with the title.

Happy March, everyone! And to those people who have birthdays on February 29th: Happy Birthday and I'm sorry!

It is time to blast off through our deck transformation!!! That may be a bit of an exaggeration. Not the blast off part, we are going to do some serious blasting off. The deck wasn't exactly transformed, but it did get a little cleaning, a little paint, a little bit of leftover pallets from here, some new furniture, pots, plants, and PILLOWS!

Here is how the deck was looking when we bought the house. It was huge and had lots of potential... potential that you will soon learn we did not take full advantage of.


They did have a beautiful rosemary bush that Scott and I managed to kill. 

We did a stain-paint on the deck to make it darker. I really liked how it turned out, but we had a tree on the side of the house that constantly spewed black goo all over the deck. After we had finally had enough of the goo spewing Scott cut down the limbs of the tree that were the trouble-makers. We cleaned the deck and stain-painted it again to cover the black mess.


That made it look a thousand times better instantly! But, I didn't want to stop there. I was ready to yellow that deck up. Yellow seems to sneak its way into every room in my house. So, I made a coffee table out of 2 pallets, some scrap wood, 4 casters, and some paint.

I also took the three terracotta pots that we had outdoors and spray painted them. If you are interested in spray painting terracotta pots please read on to learn what NOT to do!

Here is one of the pots before. Yes, it is the most typical terracotta pot ever. You're welcome for the photo.

How about a pallet table shot and before and after pot shots? Yes!

Hidden baby photo.

Look at those chubby legs!

Aren't those trees beautiful!!! 

This post is a little too long for my liking. So, stay tuned on Monday for your terracotta pot NOTS and some more deck updates.

Happy weekend, everyone! Be sure to stop by The Etc. Lists tomorrow to get some more of those chubby baby legs in your life!

Wednesday, February 6, 2013

OO: Tips & Tricks: The Garage, Part 3

This post isn't so much "tips & tricks" as it is "wahooooooooooo, we finally got the garage totally organized."

Cora spent the night at Scott's parents' house last weekend so we could get some stuff done around the house. We started early and worked hard, but it turns out that we were a bit over-ambitious.

We started clearing out the garage in the late morning and by the time Scott's parents came to drop off her a few hours later our house looked like this:

I am fairly sure they were scared to leave our little babytoddler in the hands of such maniacs. It seriously looked like a tornado had hit our house. My in-laws are generous people. Scott's dad threw on some painting clothes and painted the whole garage in an hour. Scott's mom watched Cora while I ran around trying to make the house a fairly safe place for a babytoddler.

The first step was clearing it out and getting rid of things. While I continued this process, Scott spackled some spots that needed it. He listened to basketball on the TV while he worked.


Scott washed the floors. We had epoxied them a few years ago so it was pretty easy to wash them. And then it was painting time. Garage cleaning tip: mix all of your unwanted leftover paint together to get enough paint to paint your garage. We ended up with more than enough paint in a pretty grey-ish beige color. I tried to stick to light neutral colors, but I did throw in a couple of blue paint cans.

Next came my favorite part... putting things back!

I am going to leave you with only one after photo because Scott stole my camera today and I didn't download the photos yet. SUSPENSE! Next time I will give you all the fascinating details of how I organized everything so it will be totally worth the wait!


Now, it's time for a little question session, one in particular. It is Wednesday's Weekly Would You Rather Question time!

WYR...
the only songs you could ever listen to for the rest of your life were Day-O and Who Let The Dogs Out (Even when other people played music around you it was those songs)
or
never be able to listen to music again?

Wednesday, October 3, 2012

The Bonus Room Chronicles: Step 1: Move In, Paint Orange Design, Etc

Welcome back to our Funky, Retro Bonus Room! 
The Bonus Room Chronicles are just getting started. Come on in! It's time to blast some ABBA, install a disco light and put your dancing shoes on!

Today, we will be taking a stroll through Step 1: Move in. Paint the walls. Put up curtains. Put up art. Paint orange design. Paint polka dots.


I have already given away a lot of today's post when I introduced you to The Bonus Room Chronicles.


After we moved in we got to work setting up our fooseball table. I painted the funky, orange pattern on the wall, and we did our best to make the room as funky and retro as possible.


I spent hours painting that orange design. I cut the oval shape out of cardboard. Then I traced the oval and made 6 rows plus a tiny bit of an oval from top to bottom. I hand drew the little connections between the oval above and the oval below. Next, I marked each oval and line that were going to be orange with a little dot of orange paint. Then I jumped right in to the hours and hours of tedious painting.

The orange curtains were given to me by my just-had-a-birthday BFF, Dee Dee!


I painted the polka dots on the wall opposite the funky orange pattern. But I changed my mind and painted over them before I took any photos. 
I had seen a really cool overlapping polka dot design in a book (I wish I remembered which book) and I thought it would be great! It turns out that it was great in the book. But not so much on my wall.

So, in summary, this was an awesome post filled with mentions of photos that I should have taken but didn't, talk of books I don't know the names of, and a photo that you have already seen!


But wait! There is more! I have two more photo you have not seen. I really think they are going to drive you wild! (Sarcasm. Sorry, this is still a pretty boring post!)


I love that orange chair! Yes, he has seen better days but I cannot wait to get him reupholstered! You can't tell but he is tufted. He is a perfect fit for a funky, retro bonus room. I saw him and his cute TV stand buddy advertised on Craigslist about 5 years ago. They were being sold at a consignment store almost an hour north of Charlotte. I made the trip and rescued them! The orange thing next to the TV is a dinosaur pinata from our annual Christmas pinata tradition. 

The art above the TV is from this book by Charley Harper. I love his illustrations! Please don't forget that this photo was taken almost 5 years ago. At that time, I still thought that custom framing cost more than a new car. Hence, the reason the pictures are sticky tacked to the wall.

In the photo below, the four squares on either side of the window are canvases that I stapled fabric to. The yellow one is a sheet that I found at Goodwill.


To get you pumped up about the steps to come in the future I am going to let you in on a little secret. Step 2 involves Bob Barker. I will say no more.


You are going to have to be in suspense until The Bonus Room Chronicles return. Super duper Bob Barker suspense. Everyone knows that is the worst kind of suspense.

You will also have to be in suspense because I am not going to show you the final AFTER photos of the bonus room until STEP 7! Whoaaa Nelly! 

Here is the full Step Team... all seven members: 


The Bonus Room Chronicles Introduction Post

Step 1: Move in. Paint the walls. Put up curtains. Put up art. Paint orange design. Paint polka dots.

Step 2: Put up wire display.

Step 3: Put up wall of frames.

Step 4: Move furniture around. Get rid of TV. Add bed.

Step 5: Part 1. Part 2. Part 3: Build window seat and built in bookcases.

Step 6: Change out the bifold doors

Step 7: Part 1.  Part 2. Part 3. Finishing touches


Thursday, September 27, 2012

The Nursery Chronicles: Step 2: Painting Spree

Welcome back to The Nursery Chronicles.

A couple of weeks ago we checked out Step 1: Get rid of the old furniture and try out some more baby-centric duds for the room. Crib, bookshelf, and daybed.


Today, we enter into the exciting world of:
Step 2: Convince my husband to do more painting than anyone would ever want to do in their whole life. Start the painting spree by painting over the headboard on the wall. Get a dresser/changing table and refinish it.

As I mentioned in The Nursery Chronicles start-up post, the nursery used to be our guest bedroom. And for some reason I decided the guest bedroom needed a headboard painted on the wall. Luckily, we had some of the paint leftover.


So, it was easy to turn this:


Into this:


Next up, on the painting list was to transform the dresser we found on Craigslist.
Here is the photo from the CL ad:


I knew I wanted the dresser to be yellow and white but I wasn't sure which sections to paint what. That's when I said HELLO to the super basic program, Paint!


I took wayyyyy too much time trying out possible paint jobs and came up with these options.

#1
#2
#3
#4
#5
#6
Sorry to waste your time with all of the possible options too!
I narrowed it down to 2 and sent an email to some friends and family members (who are kind enough to spend their time looking at such silly things). The answer was overwhelmingly choice #1.


So, off to work my lovely husband went. The hardest part was taking all of the old paint off. The lady who we bought it from thought she was doing us a favor by adding another coat of polyurathane to it right before we picked it up. I can safely say... one of my least favorite favors ever. Not only did that mean Scott had to take even more paint off but it meant that this overcautious pregnant lady had to sit in a car filled with some serious paint fumes. I stuck my head out the window (Ace Venture style) and took in the lovely rigid February weather. Luckily, it was a short drive.


Scott put some paint thinner on, then sanded it down and started adding layers of paint.


Those sure are some freshly sanded drawers.


More paint!


Here is how the lovely dresser turned out after about 50 Scott hours! Thank you again, Scott. You are the best!!!!


That ends this edition of 
The Nursery Chronicles   Step 2: Convince my husband to do more painting than anyone would ever want to do in their whole life. Start the painting spree by painting over the headboard on the wall. Get a dresser/ changing table and refinish it.

Here is a complete list of the steps again in all of their steppin' glory:
The FINAL after photos are at the end of this post!

Step 1: Get rid of the old furniture and try out some more baby-centric duds for the room. Crib, bookshelf, and daybed.


Step 2: Convince my husband to do more painting than anyone would ever want to do in their whole life. Start the painting spreeby painting over the headboard on the wall. Get a dresser/ changing table and refinish it.


Here is what you have to look forward to in the future:


Step 3: Get some more furniture. Start the decorating: Wire display for pictures.

Step 4: More decorating: Put up the book slings. Floating shelves.


Step 5: Decorations, Part 3: Hang art above the crib and all around the room


Step 6: Refinish side table and get a few more pieces of furniture


Step 7: Paint the chalkboard and mirror and hang them.


Step 8: Put up the curtains. Line the inside of the dresser with some of my extra fabric


Step 9: Paint the mailbox. Finishing touches.


Just a reminder... when we get through all of these steps we get to this:


Hope to see you tomorrow!

Monday, September 10, 2012

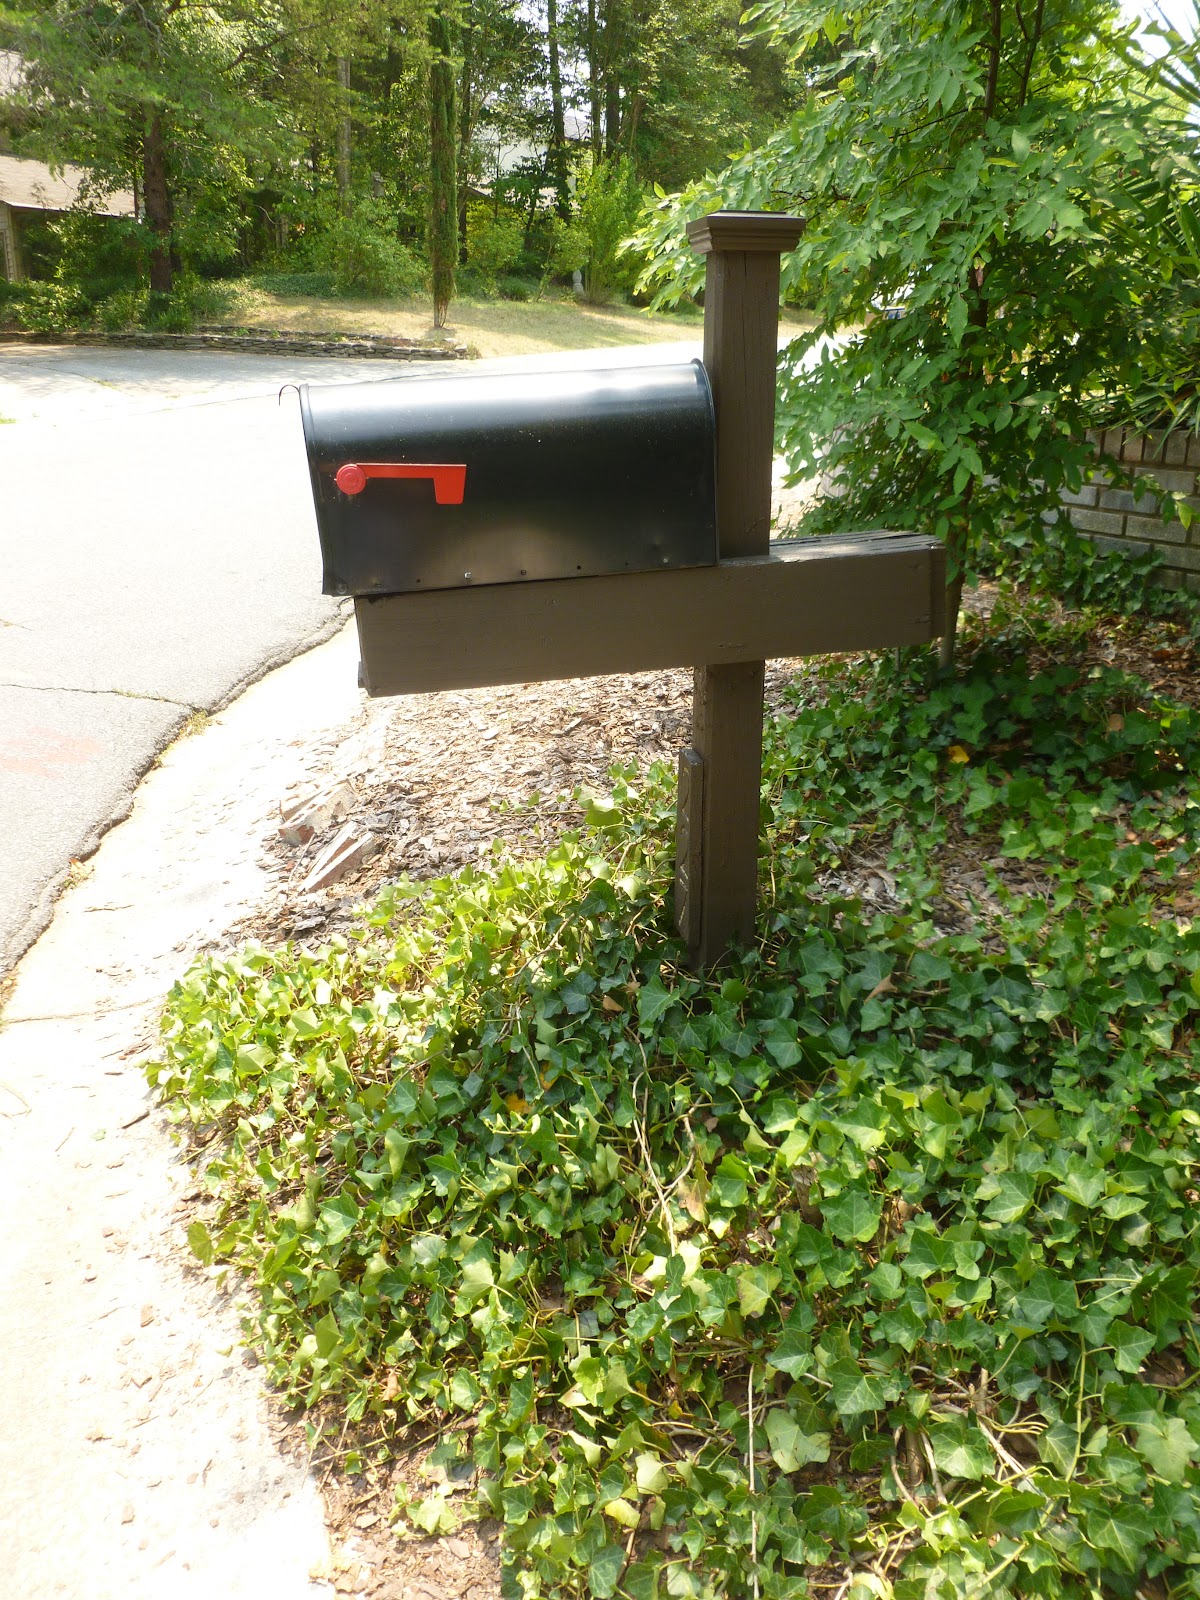
Beautifying The Mail Box!

Our mailbox has needed some love and attention for a long time.
It has taken us four and a half years to finally getting around to it. The top of the post was a bit jagged looking and ivy had overtaken the entire thing. 


Finally, one day I guess Scott got sick of looking at it so he busted out his Teenage Mutant Ninja Turtles t-shirt. He loves the 80s just like me! Actually, the TMNT shirt is in his junky work shirt pile. Whatever- at least he is representing!

The process was:

Step 1: Mark a level line at the top of the post and then saw off the jagged bits. 


Step 2: Glue a post cap onto the newly sawed off bit. Then blow all the saw dust off the mailbox (and make sure you get a photo of it!).


Step 3: Paint the post


Step 4: Clear all the ivy that had taken over 


Step 5: Put down new mulch (bag is pictured in the photo above) and beautiful flowers. Ok- here is where a little snafu happened. I did step 5 and wow! What a difference. I did not immediately take a photo. Thennnnn... I was pretty darn lax in the watering department. Those beautiful flowers are now no more. So you will have to wait until Spring to see the true after photo. Ohhhh boy will it be worth the wait. I know you will be counting down the days. 

Here is one more look at the before and after.


Sunday, September 9, 2012

The Nursery Chronicles

Our mountain paradise (we have trees and hills in our neighborhood so that means it is a mountain paradise) was not really decorated in my style when we saw it for the first time. 

When I decorate I usually like to scream COLORRRRR as much as possible all over my house. That is unless, of course, I am compromising with Scott who says that every room in our house does not need "Ikea Green" or bright yellow.

Below are photos of the previous owner's set up. This is the room that was to become our guest bedroom (later Cora's nursery). 


When we moved in we were on a major budget (you will learn this quickly about me and Scott... we are always on a major budget).
The guest bedroom (now the nursery) was not a top priority. So we painted it a grayish color, put up some curtains, made a headboard, threw all of our extra furniture in there and shut the door.

Until about 4 years ago I thought that having pictures framed was one of the most expensive things in the world. Luckily, I learned the "get custom matting, not custom framing" trick like I did here in the foyer. 
I also thought that headboards cost as much as a brand new car. The obvious solution to the $25,000 headboard dilemma was to paint my own on the wall.

Here is what our guest bedroom looked like after we moved in:


All of that random stuff you see in the background (including the out of place black and white table) are my decorating "extras." The wooden crate is somewhat of an anomaly. It may have lived on the wall like it is pictured for a week tops. There was a nail in the wall and a crate on the floor so I put them together. I wasn't a big fan of it but I guess I liked it enough to leave up there for a week and end up in a photo.


RANDOM, NOT RELATED TO THE TOPIC AT HAND, INTERRUPTION: 
I am staring at my video monitor as I write this post. Cora is trying to settle herself down for a nap. Things had been going so well in the nap department recently. But people do not lie when they say, "once you start getting the hang of the baby thing it changes." 
I have said this quite a few times already (here, here, here) but let me try it one more time... MY BABY WAS NOT BORN TO WIN THE GOLD MEDAL IN THE SLEEPING OLYMPICS. 
She is an amazing, little baby and I feel like the luckiest person in the world to have her in my life but a sleeper she is not.

OK back to the subject at hand which happens to be turning a guest bedroom into a nursery for my little sleepaholic.

I was very excited when I found out I was pregnant... for the obvious reasons. But I was also thrilled to be able to get my spazzy, little decorating fingers into that guest bedroom and get to work!

As of right now, the nursery is the only room in the house that is complete. It is so nice to have one room totally checked off my list!

Here are some photos of Cora's royal sleep dwelling!


There were a lot of steps to get this nursery where it is today. Don't you worry- I am going to go through every little step in some future blog posts for you.

Here is what you have to look forward to:

Step 1: Get rid of the old furniture and try out some more baby-centric duds for the room. Crib, bookshelf, and daybed.

Step 2: Convince my husband to do more painting than anyone would ever want to do in their whole life. Start the painting spree by painting over the headboard on the wall. Get a dresser/ changing table and refinish it.

Step 3: Get some more furniture. Start the decorating: Wire display for pictures.

Step 4: More decorating: Put up the book slings. Floating shelves.

Step 5: Decorations, Part 3: Hang art above the crib and all around the room

Step 6: Refinish side table and get a few more pieces of furniture

Step 7: Paint the chalkboard and mirror and hang them.

Step 8: Put up the curtains. Line the inside of the dresser with some of my extra fabric

Step 9: Paint the mailbox. Finishing touches.


I am so excited to share these with you!!!

I know there are some Saved By The Bell fans out there. Let's join together to sing Kelly, Lisa and Jessie's (aka the Hot Sundae) hit "I'm So Excited." You know you remember the episode where Jessie Spano starts taking prescription drugs in order to sleep and she gets a bit crazy.


The photo is from this article about the top 5 most outrageous SBTB episodes.


If you don't know it and you want to act like you were a hip 7th grader back in the early 90s you can check out the infamous clip here.