It was Carpet City in our house when we moved in. It was in the bathrooms (I am not sure that toilets and carpet are supposed to mix), on the stairs, on the wall (it is on the wall part of a step from one room to another... I am calling it the wall) and it smelled like cat pee like you wouldn't believe.
Sorry. This is the best before photo I have of there being carpet all up in the toilet's face. Just trust me. It was there.
The carpet had to go. I KNOW THAT'S RIGHT!
- First, we ripped up all of the old carpet and vinyl.
- We paid to have someone put the new carpet down for us, but we saved money by ripping up the old stuff ourselves. I am not quite sure how much we saved and I would do the same thing again but that is because I am pretty darn cheap. It was a lot of work cutting that carpet into just the right sized pieces so our bulk trash pickup would take them. We also had to lug them up to the curb. And the best looking part of it all was that the area of my arm that was showing between my gloves and my short sleeve developed some gross, red spots from carrying yucky carpet. That's right people... I AM A FANCY LADY!
- We sprayed vinegar on every surface of the floor (lots of internet research told us that this would help combat the cat pee stench). That did not do the trick, so we tried it again and again. It smelled a little bit less each time, but it was still there. So, I called a pro... our old neighbor who is a professional painter. He suggested something called "Zinsser Bin Primer/ Sealer." This is the holy grail of pungency. It smelled stronger than any paint or stain I have ever used. He told me that this is used after a fire to cover up fire damage and he has used it to cover bad smells. It worked!!! Not the slightest hint of cat pee anywhere.
- After the smell was gone we could concentrate on our new flooring.
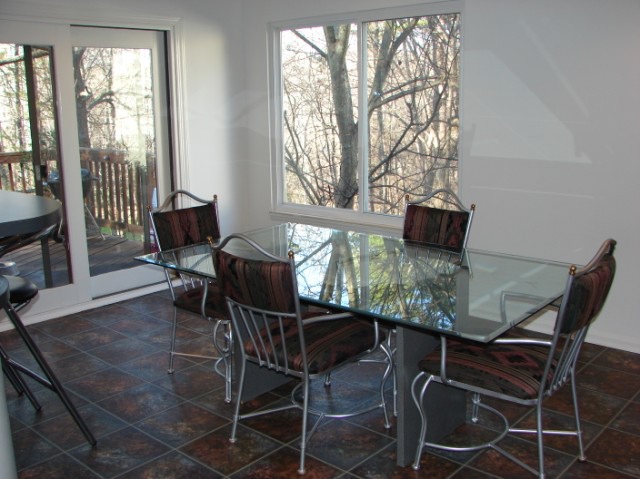
We had bamboo flooring put down in the living room and dining room.
We put beadboard on the little step in the living room where carpet was on the wall. I tried to match the color of the bamboo when I painted the bead board.
Before Bamboo and Bead Board:
After Bamboo and Bead Board:
We had tile laid on a diagonal in the kitchen and bathroom (yay for no more toilet carpet).
The Floor Before The Tile:
The After Photos:
Now onto the stairs... I knew that I did not want carpet wrapped around what could be a pretty cool open staircase. So we ripped the carpet off and underneath was a builder-grade step. It wasn't pretty and there were nail heads popping up from both sides of the step.
Before Any Change To The Stairs:
As a temporary solution I painted the steps black. (Temporary turned into almost 4 years).
I also painted the railings from white to black to match the steps.
My father in law suggested that we not wrap the carpet around the wall near the railings like it had been. So, we had the carpet people stop the carpet with some tacks and we put up some boards to cover the seam.
After Painting The Stairs and The Raling:
Fastforward 4 plus years. We now have a baby who is not the world's best sleeper... HUGE UNDERSTATEMENT.
You cannot believe how loud and squeaky our stairs are. It sounds like an elephant brought his entire circus squad to dance around on them when you walk down the steps.
We knew we wanted to upgrade the stairs eventually but we wanted to do some research... apparently four years worth of research to figure out what we wanted to replace the steps with.
After a few months of me making Scott go around the house instead of down the stairs so he would not wake the baby we decided new stairs were a necessity.
I called around a few places and got some quotes. Everyone was very helpful but I didn't love any of the ideas people had. Most everyone wanted to use a junky wood wrapped in a nice piece of wood to give it the appearance of one big piece of chunky wood.
Finally, someone referred me to "The Stair Master." Who knew... I should have just googled "stair master" in Charlotte to find what I wanted.
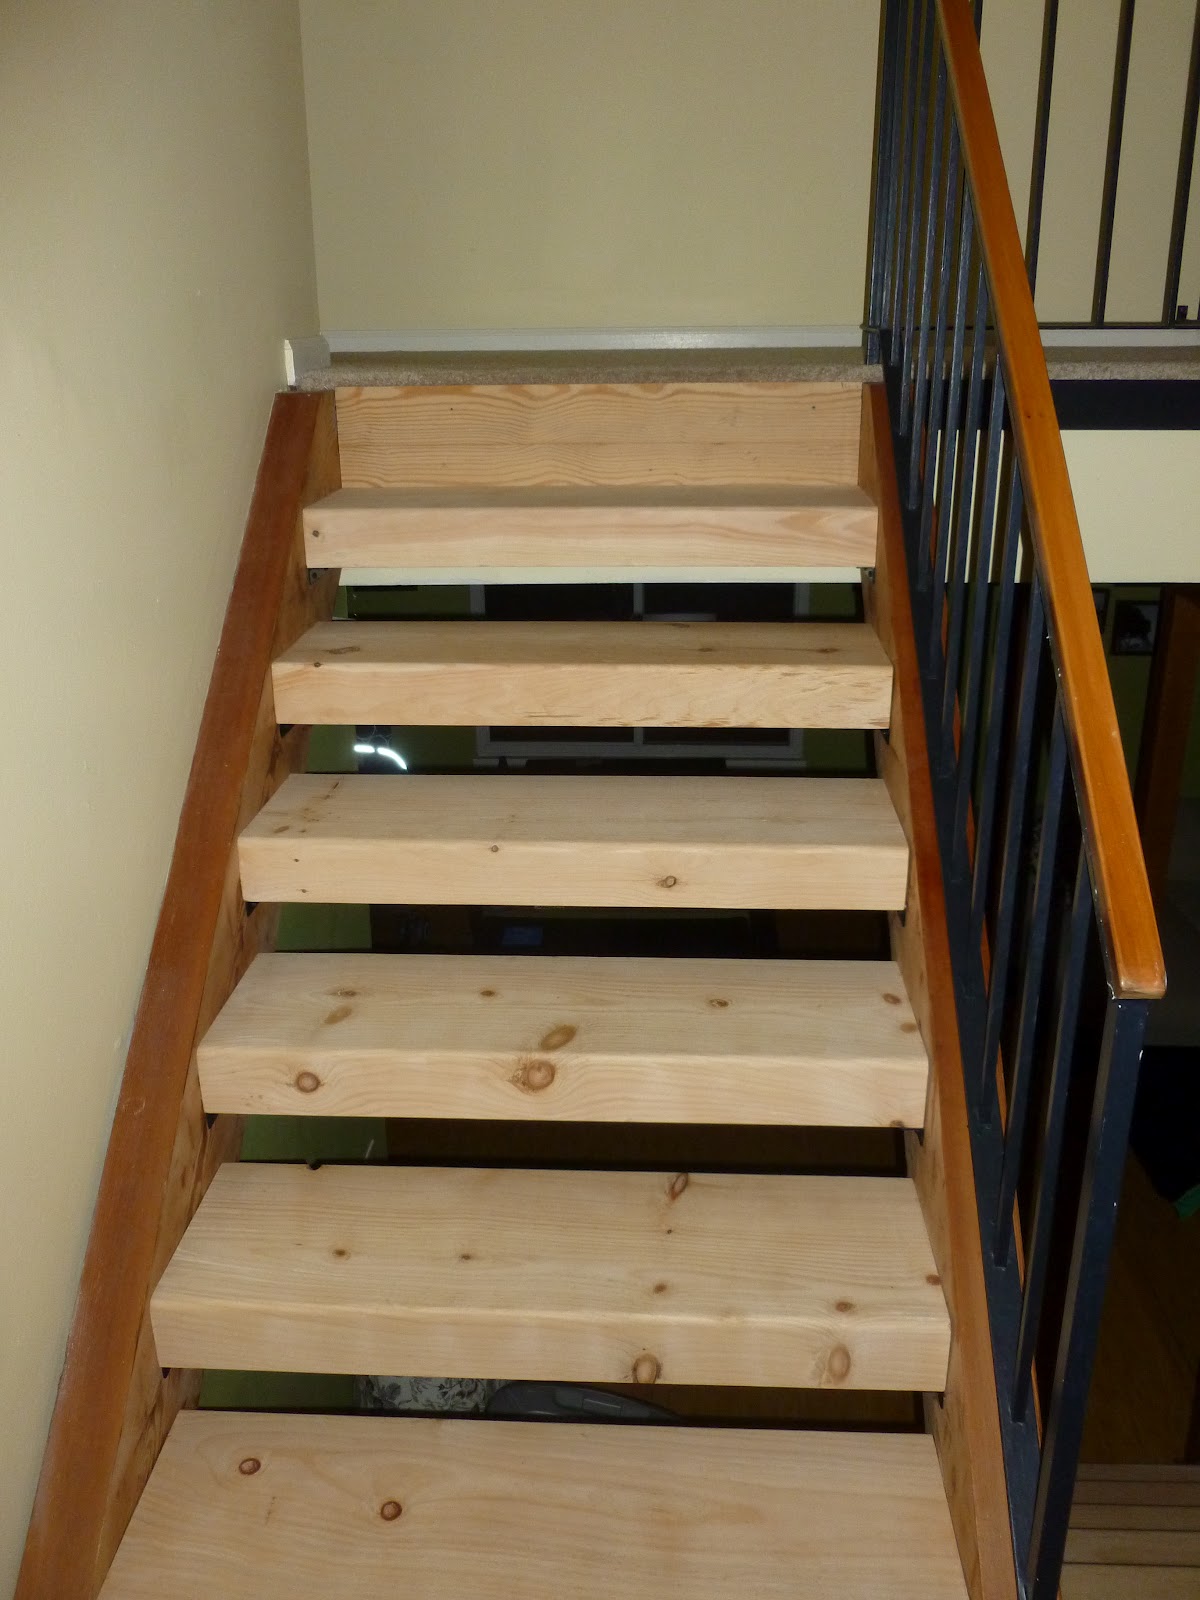
Mr. Stair Master suggested getting one big, honkin' piece of wood for each step and cutting each one to a different size so it would be a perfect fit. It turns out that I like a big, honkin' piece of wood! The only thing was the price was not right. I talked him down about $200. The price was still not right but the cost seemed worth it to help ease the stress of being crazy, new parents (maybe just crazy, new mom).
This is a photo that I sneakily took soon after he arrived. I was so excited to see the beautiful, new steps!
Here they are going in:
Check out those cute, little feet in the bouncy seat at the top of the steps. This is before she was anywhere near mobile. I promise she was safe!
I don't think Mr. Stair Master knew I was taking this photo.
Mr. Stair Master recommended we let the stairs dry out a bit more and also get some patina to them before we polyurethane or stain them. They have really darkened up quite a bit since they were installed.
I will be sure to post an updated photo of them when we get around to polying them.
I love my beautiful, SILENT as can be new stairs! In fact, the stairs are so quiet that Scott and I kept startling each other because we used to know as soon as one of us placed the first hint of a foot on the stairs.


.JPG)


