Another 80s Oak Cabinet Redo!!!!!
I showed you some great before and after cabinet photos here and here. Then I showed you an oak redo in the dining room and another one in the downstairs bath.
But there was one more slim shady creepin' around the house 80s-oak-style. And, today, you get to meet him.
When checking out a house as a potential buyer I am happy to see things like outdated cabinetry, dirty carpet, ugly decorations. These things that can bring the price down and aren't a big deal to change. Plus, you get to put your own spin on the house when you redo it. And with minor things like these, the house is still liveable while you update it.
So, setting foot in a house with three separate rooms with 80s cabinets and even more outdated hardware was exciting to me rather than a turn off.
To the left is what it looked like when we checked it out and the right is the after photo.

My first step in changing this bathroom was actually not an improvement. I thought the proper way to get paint to stay on cabinets and furniture was to paint it whatever color I wanted and then put a similar colored stain over it. I have learned that is not what actually needs to be done.

Oops! My "update" may not have actually helped. For some reason, the "update" stayed that way for about a year until I learned the proper way to transform oak cabinets. Finally, I was ready to make my mess up magnificent, ditch my funky medicine cabinet, and change out a countertop that someone designed at a disco party.
First up, the Old Yeller countertop was exchanged for the crispest white countertop in town with the expertise of my amazing handyman.

(Please ignore all of the other obvious updates in the after. They are going to get their own time to shine in just a minute).
Next, I was able to turn those streaky looking cabinet buddies into fancy brown dudes.

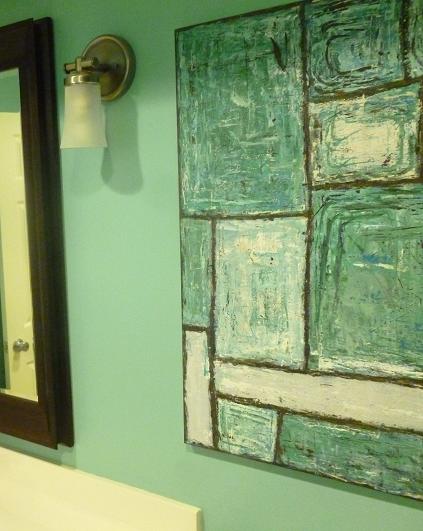
Next up were the mirror and the sconces.
The old mirror came down. Somehow my magician handyman was able to get electricity to the sconces and tie it into the light box with hardly any trouble. There was a little patching from the old mirror. And, tada, we were now here:

Here is a closeup of the sconces and the mirror. The mirror was a thick, heavy frame that fit perfectly in the space and I loved the design!
Once again, ignore whatever parts of the bathroom that I have not addressed yet.

The faucet switcheroo- also thanks to my handyman.

I painted a new painting.
I painted the walls from a yellow to a blue-ish green-ish turquoise color.

There are a few steps left and one of them is my favorite part of the bathroom. So, I will be back tomorrow to finish off your introduction! I also have a little price breakdown action for you!

I know I am your Mum but I love your art work and think you are very talented and you should have your own 'show' one day. If people are looking for customized art work for their homes - you are the lady for them. I think you have your own art work in every room of your house and every piece looks fantastic.
ReplyDeleteHope you can get in the art business one day!
well thank you very much! I can't wait until I find more time to paint!
DeleteOhhhhhhh...I think I know who I'm going to call when I start my cabinets!! Looks great as usual and I agree with your Mama...you should have a gallery/show!!! Love your work!!
ReplyDeletethank you!
Deletecan't wait to hear how the cabinets go!
I agree! You are an incredible artist. I am a proud collector of Laura Ross originals!
ReplyDeletePrice breakdown is new and pretty fancy!
you all are pretty sweet!
Delete