Last week, I left you here:
The frame was built. The shelves were built, but they hadn't become buddies yet.


PART TWO TIME!
It was time to acquaint the cabinets with their soon-to-be buds, the shelves.
The bookshelves are 4 feet wide. After building them we decided they needed some more support. So, we added some boards to the shelves that alternate- one board per shelf, two boards per shelf.
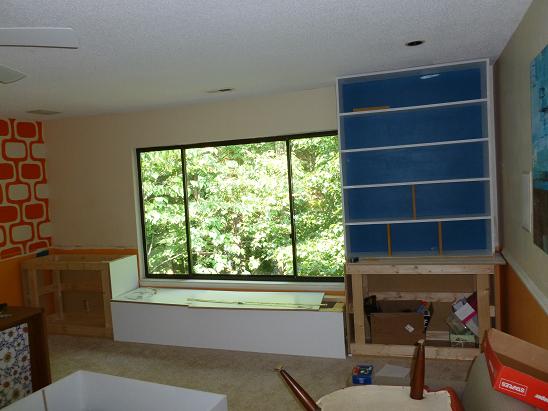
Then the frame for the top/ light box was built and put into place.
I am not sure why it looks like there is a snow storm in this photo or why Scott and his dad are doing such a thorough examination of the right side of the frame. But there it is- snow and exams.

More hammering. More snow.

A little fastforward... The bookshelves have been painted, the lights are installed. There is even some temporary staging of the bookshelves in place.
Hey Big Bear!

Time for the cover to go up on the top of the shelf.

To figure out what size doors we should get for the cabinets I made some door fakers.
Cardboard on top of cardboard.

The doors were delivered and we installed them.

We added some detail to the light box cover.

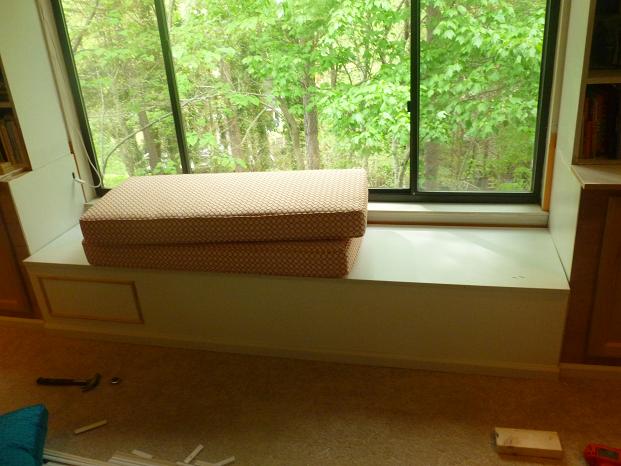
Detail was added to the window seat.
And that is where I am going to leave you. Step 5 has turned into a 3 step process. But I promise you that very very soon you will get the big reveal.
Bonus Room Chronicles Step Team in full force below:

You are really dragging this one out.
ReplyDeleteThe window seat and bookshelves really look nice.
Draggin' it out big time!
DeleteI didn't realize how much work that project was! But it paid off big time!!
ReplyDeleteLooks amazing!!! good job DIYers!!!
ReplyDelete